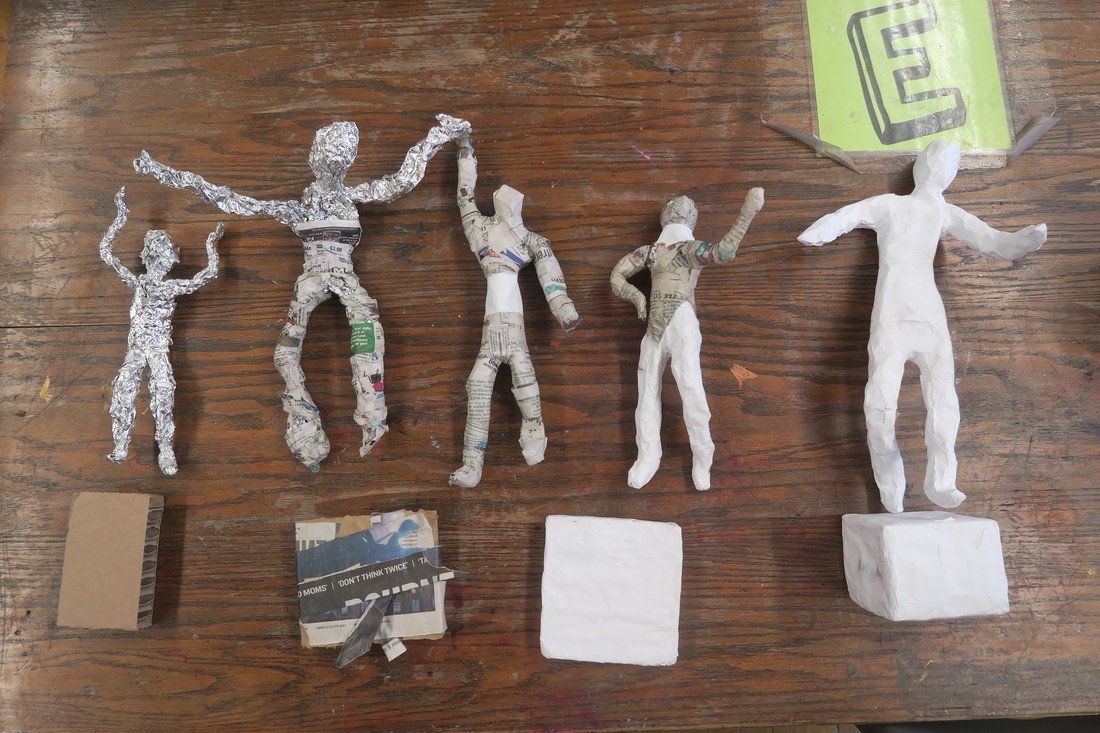
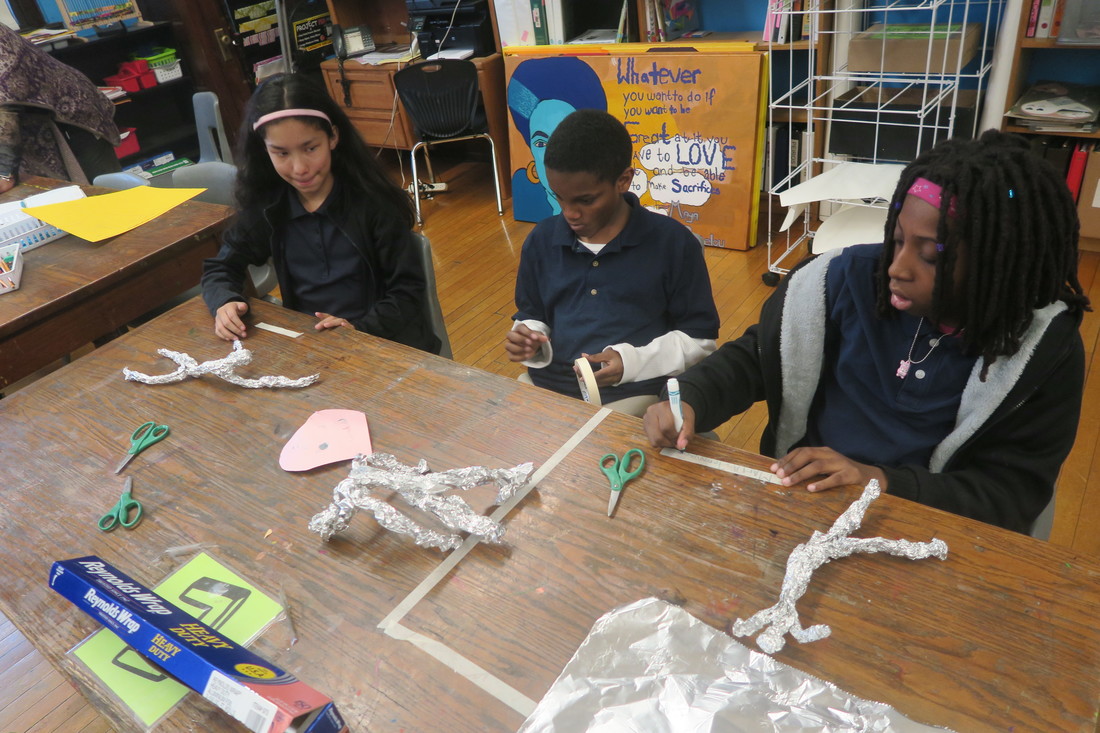
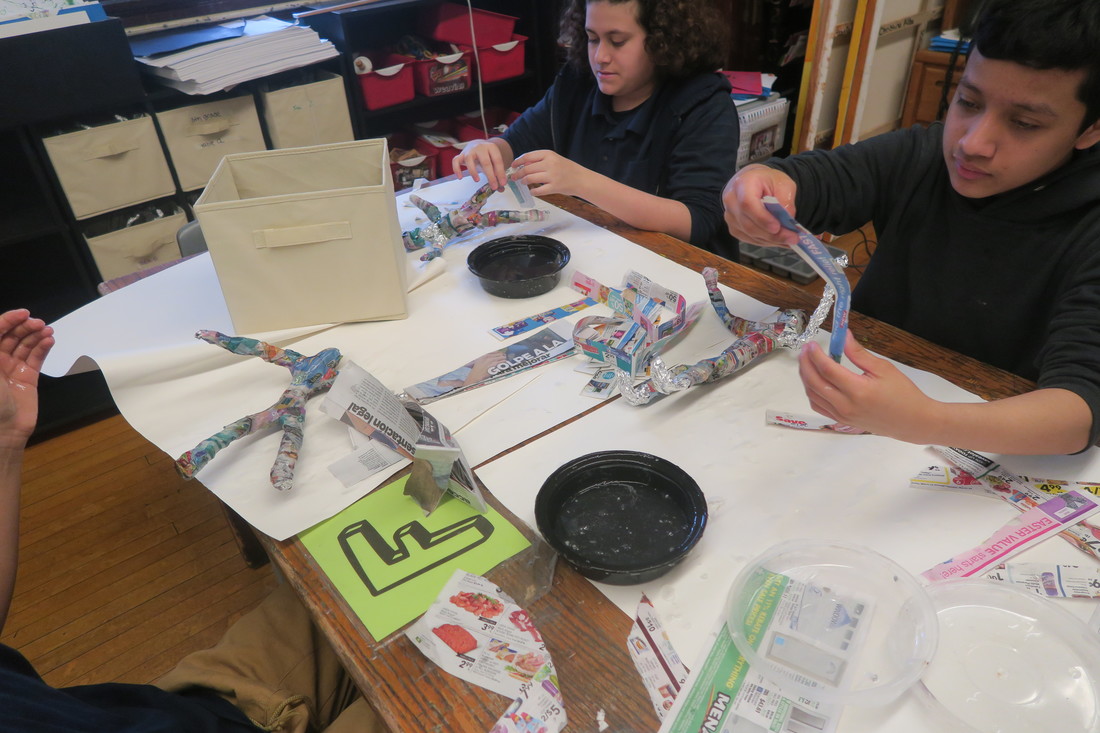
Fifth through eighth grade students have been working on something new! Their current project involves making miniature sculptures of themselves. These classes have already completed the armature part of the sculpture.
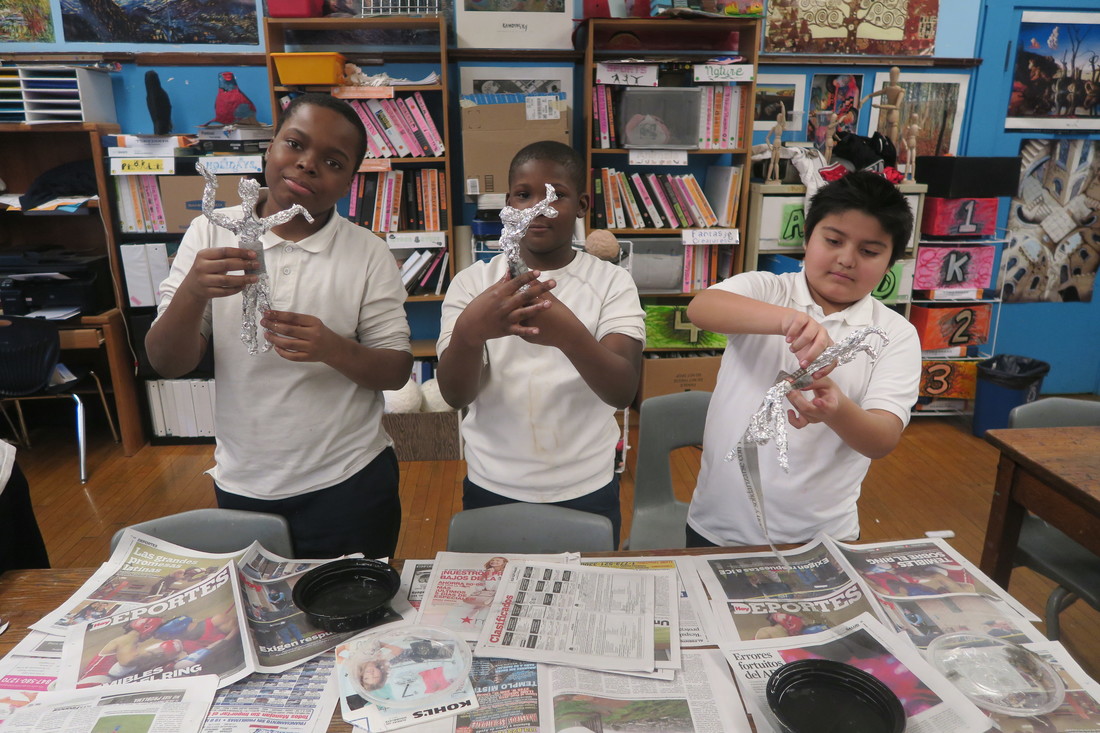
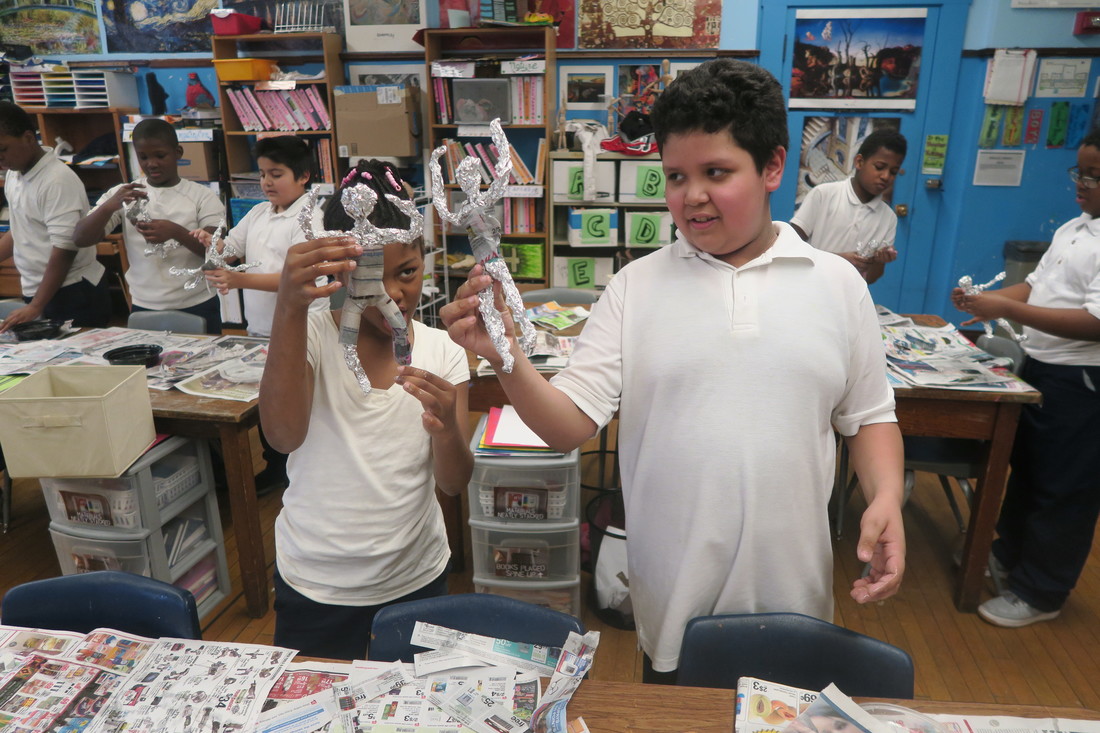
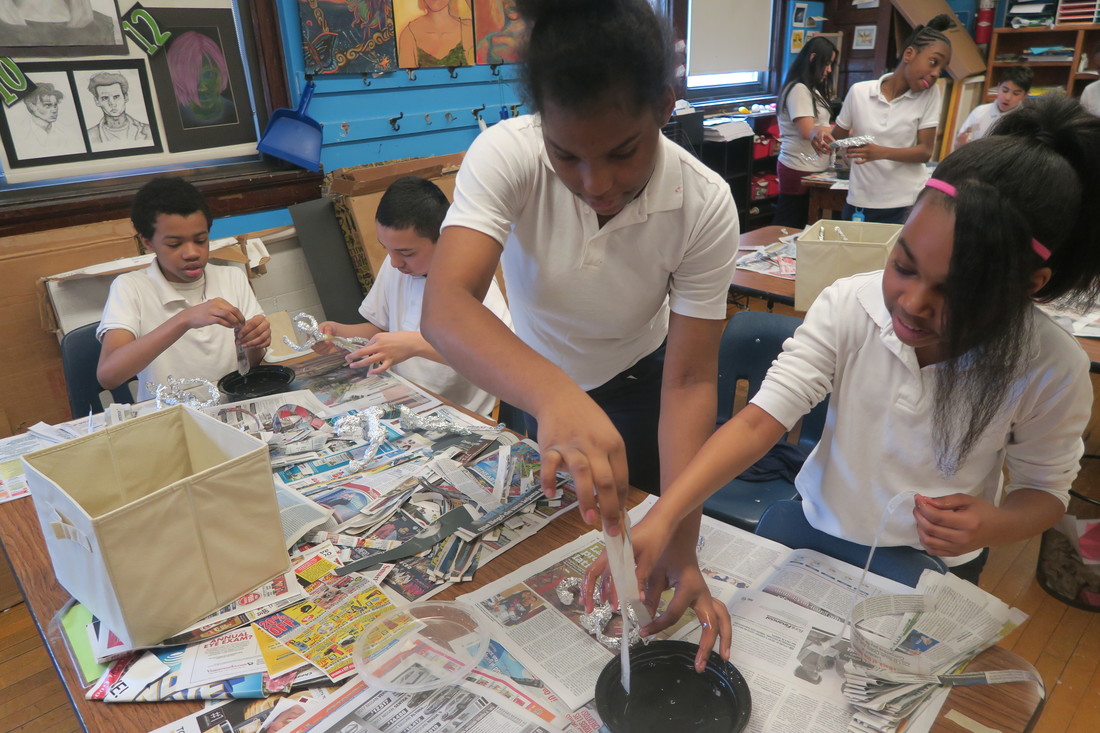
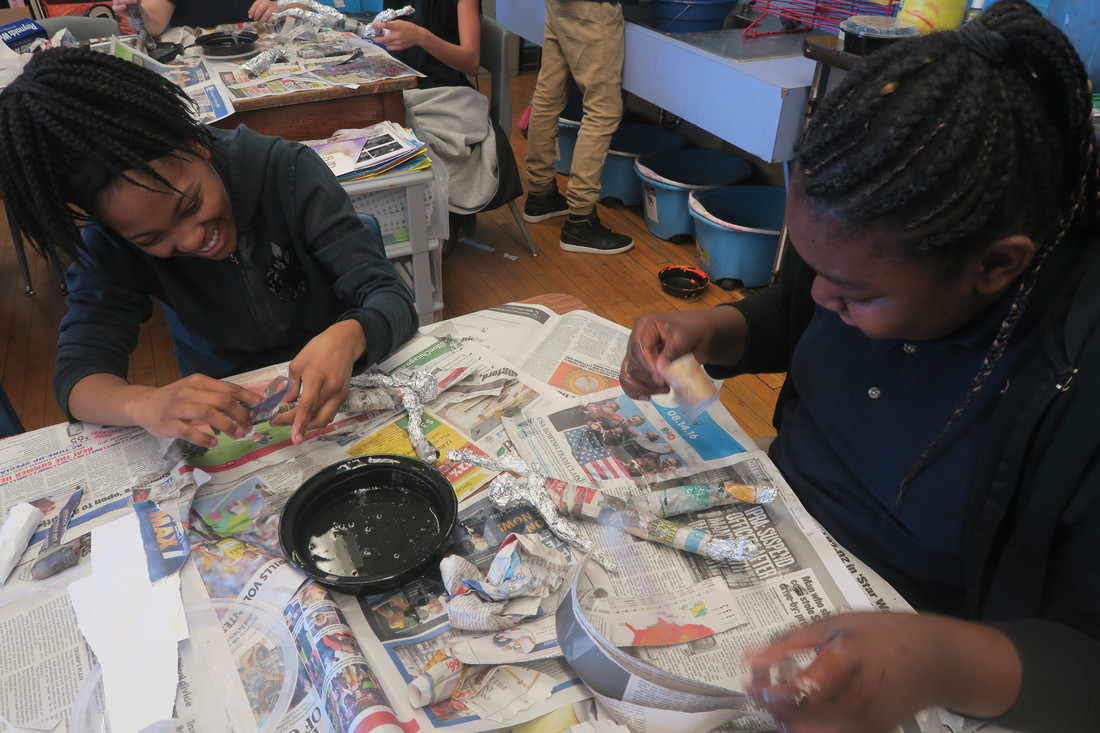
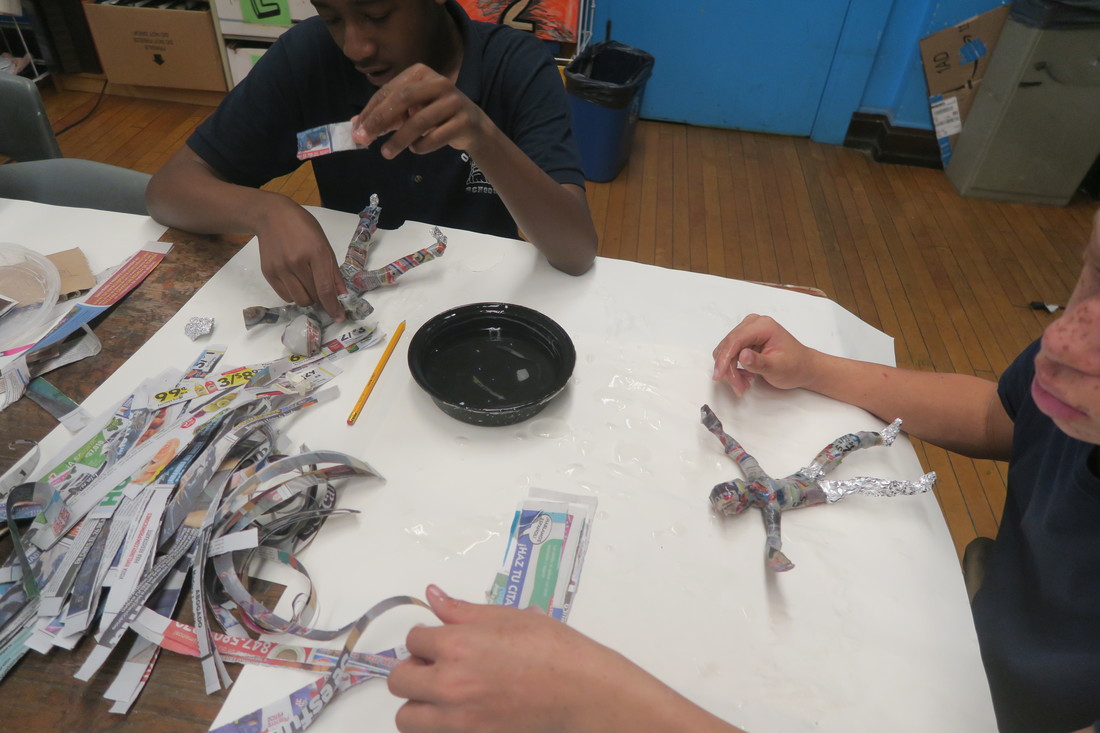
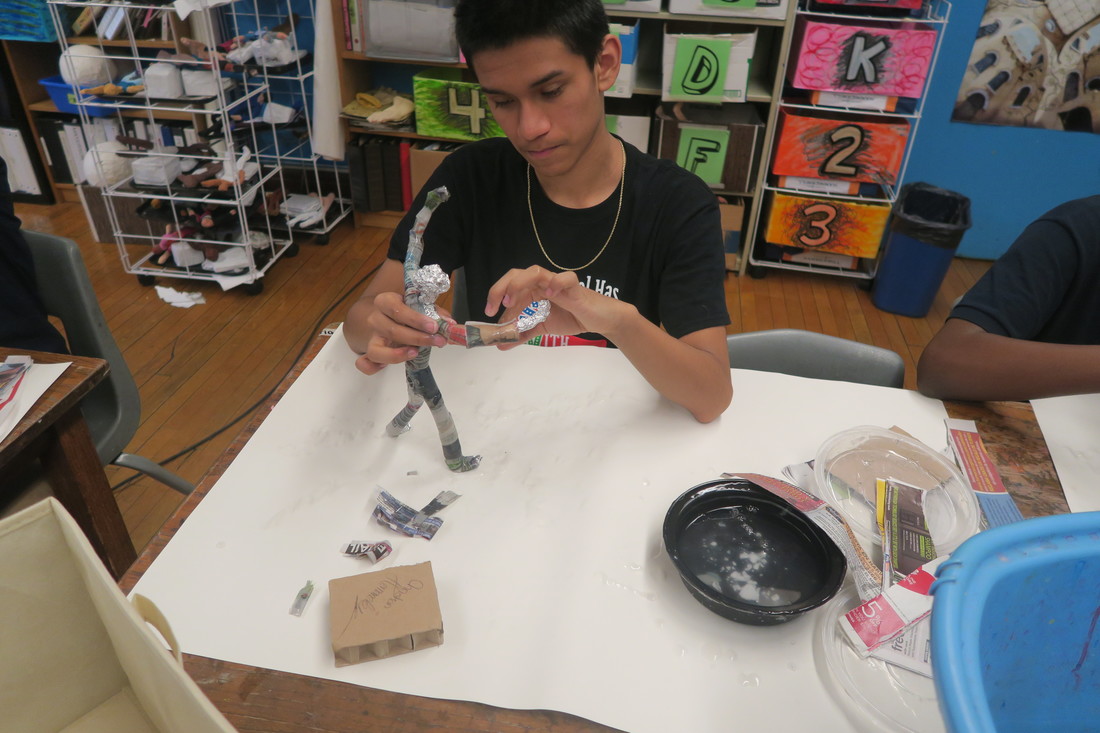
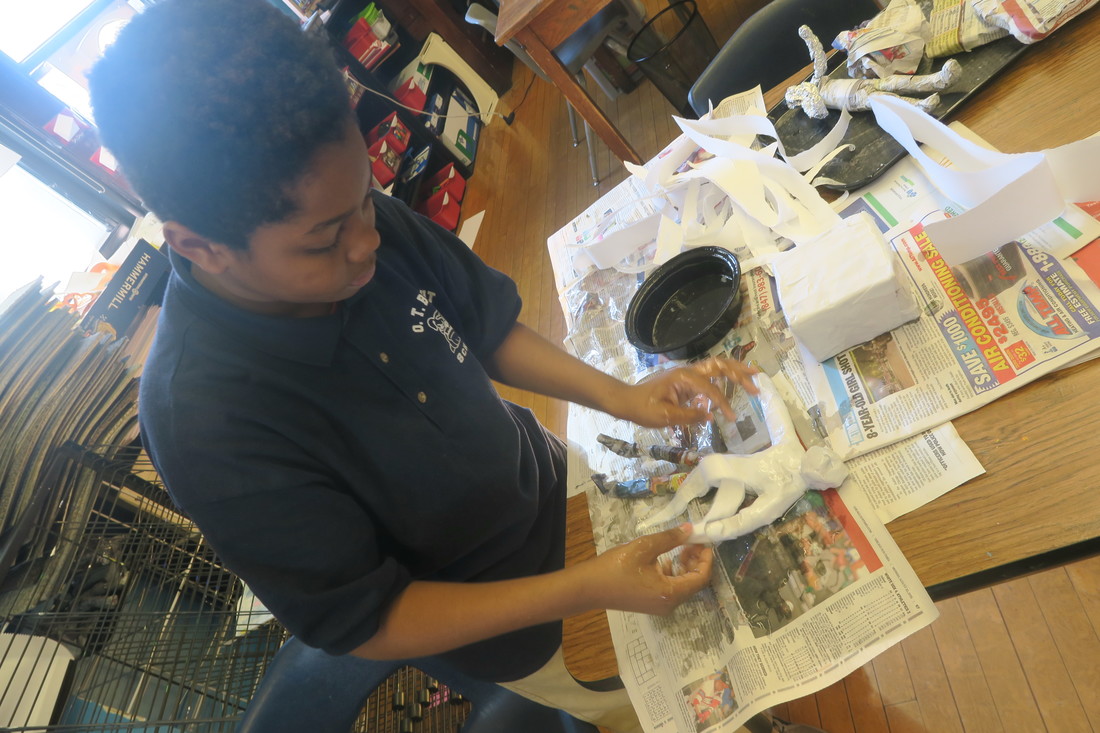
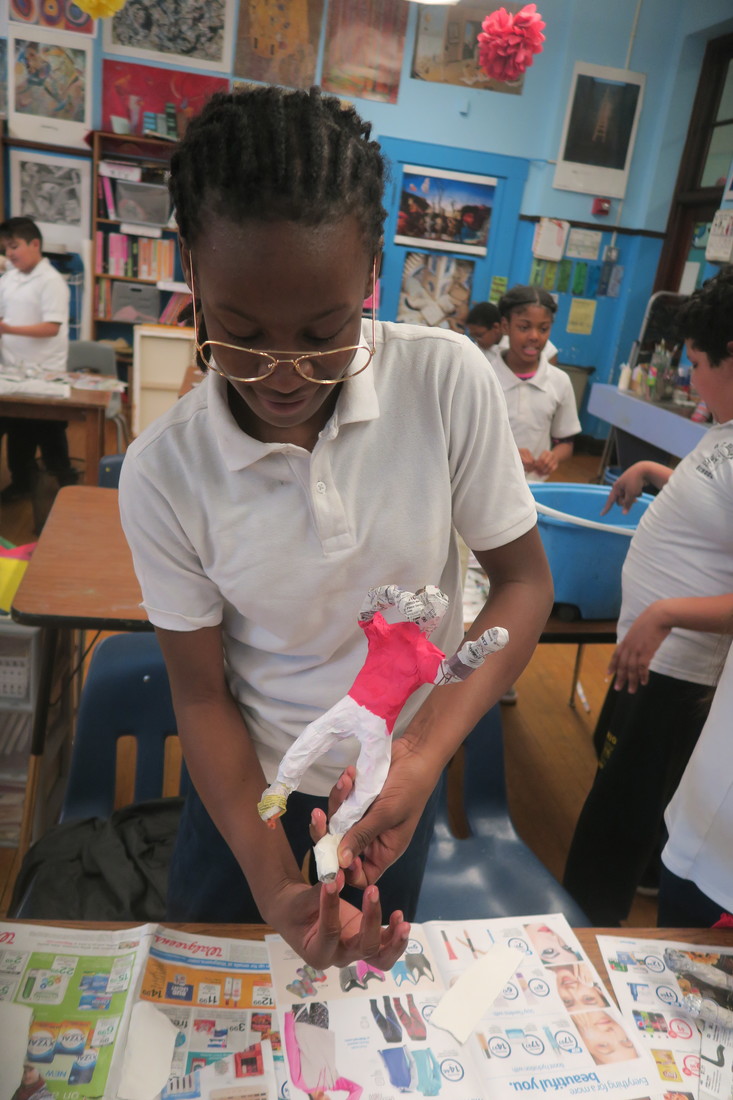
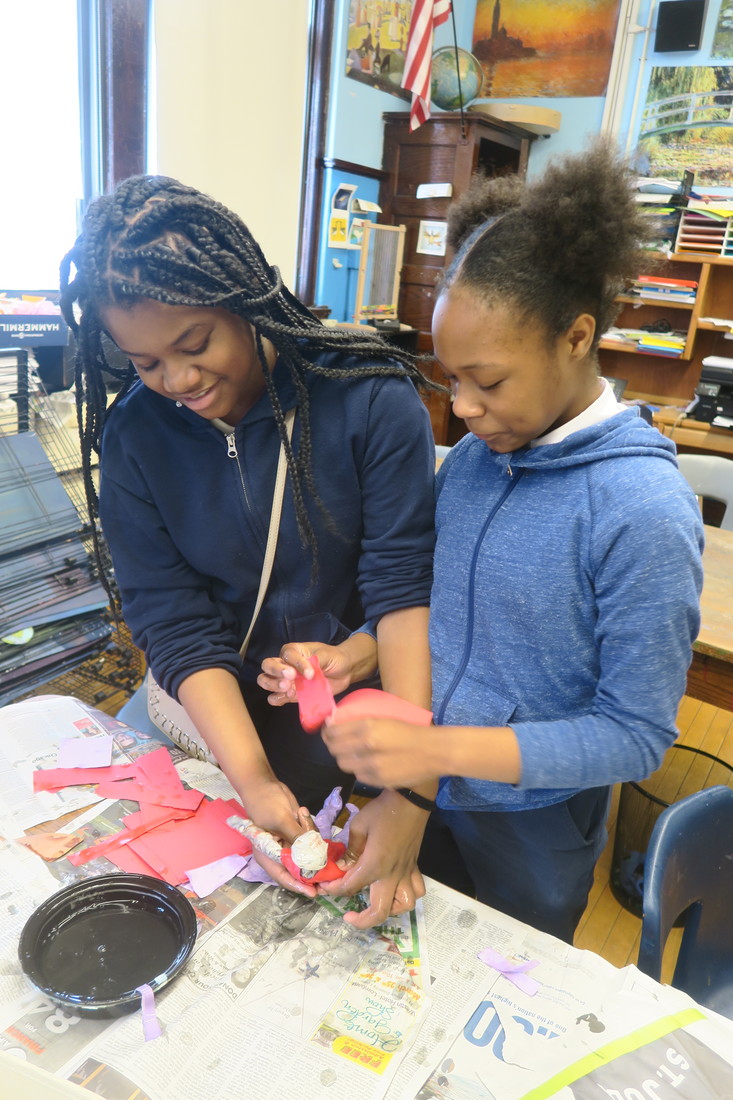
How did they make these? Beginning with aluminium foil, students cut and shaped the foil into the form of a person. Then, students coated the form with layers of paper mache. Some students used colored paper to add a base coat of color during this process. You can see the process below. Stay tuned to see how they turn out!
How did they make these? Beginning with aluminium foil, students cut and shaped the foil into the form of a person. Then, students coated the form with layers of paper mache. Some students used colored paper to add a base coat of color during this process. You can see the process below. Stay tuned to see how they turn out!

 RSS Feed
